【微信公众号】微信公众号接口-上传图片到微信服务器
本文共 3349 字,大约阅读时间需要 11 分钟。
前台的实现我们可以参考
图片上传地址:
/** 上传图片素材*/ public static final String URL_UPLOAD = "https://api.weixin.qq.com/cgi-bin/material/add_material?type=image&access_token=token"
后台部分我们可以在后面进行添加
@PostMapping("/uploadImages")@ResponseBodypublic String uploadImages(HttpServletRequest request,MultipartFile file){ try{ String filename = file.getOriginalFilename(); //上传的路径 String path = "d:\\upload"; filename = changeName(filename); String rappendix = "upload/" + filename; filename = path + File.separator + filename; File file1 = new File(filename); file.transferTo(file1); String str = "{\"src\":\"" + rappendix + "\"}"; //将本地的路径上传到服务器上 String imgUrl = WxCardUtil.postFile(UrlConstant.URL_UPLOAD, filename); //将返回的imgUrl保存到数据库中 imgService.save(imgUrl); return str; }catch (Exception e){ e.printStackTrace(); throw new AuthorizationException("上传文件失败"); }} 向微信服务器发起请求postFile方法:
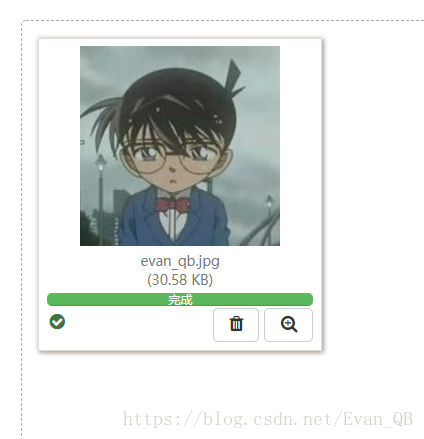
/* * 调微信接口上传永久图片 */public static String postFile(String url, String filePath) throws IOException { File file = new File(filePath); if (!file.exists()) { throw new IOException("文件不存在"); } String result = null; try { URL url1 = new URL(url); // 连接 HttpURLConnection conn = (HttpURLConnection) url1.openConnection(); /** * 设置关键值 */ conn.setConnectTimeout(5000); conn.setReadTimeout(30000); conn.setDoOutput(true); conn.setDoInput(true); conn.setUseCaches(false); // post方式不能使用缓存 conn.setRequestMethod("POST"); // 以Post方式提交表单,默认get方式 // 设置请求头信息 conn.setRequestProperty("Connection", "Keep-Alive"); conn.setRequestProperty("Cache-Control", "no-cache"); // 设置边界 String boundary = "-----------------------------" + System.currentTimeMillis(); conn.setRequestProperty("Content-Type", "multipart/form-data; boundary=" + boundary); // 请求正文信息 OutputStream output = conn.getOutputStream(); output.write(("--" + boundary + "\r\n").getBytes()); output.write( String.format("Content-Disposition: form-data; name=\"media\"; filename=\"%s\"\r\n", file.getName()) .getBytes()); output.write("Content-Type: image/jpeg \r\n\r\n".getBytes()); byte[] data = new byte[1024]; int len = 0; FileInputStream input = new FileInputStream(file); while ((len = input.read(data)) > -1) { output.write(data, 0, len); } output.write(("\r\n--" + boundary + "\r\n\r\n").getBytes()); output.flush(); output.close(); input.close(); InputStream resp = conn.getInputStream(); StringBuffer sb = new StringBuffer(); while ((len = resp.read(data)) > -1) sb.append(new String(data, 0, len, "utf-8")); resp.close(); result = sb.toString(); //System.out.println(result); } catch (ClientProtocolException e) { log.error("postFile,不支持http协议", e); } catch (IOException e) { log.error("postFile数据传输失败", e); } System.out.println(result); //将字符串转换成jsonObject对象 JSONObject jsonObject = JSONObject.fromObject(result); String imgurl = jsonObject.getString("url"); log.info(imgurl); return imgurl;} 结果如下:
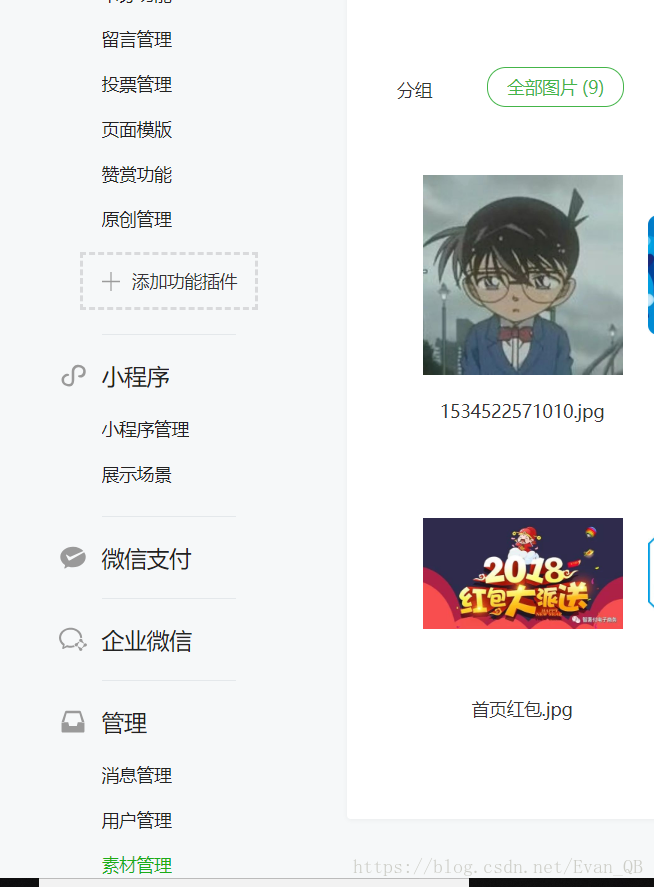
上传之后我们可以在微信公众号的素材管理中看到
你可能感兴趣的文章
【Python】详解Python多线程Selenium跨浏览器测试
查看>>
Jmeter之参数化
查看>>
Shell 和Python的区别。
查看>>
Python 列表(list)、字典(dict)、字符串(string)常用基本操作小结
查看>>
Loadrunner之https协议录制回放报错如何解决?(九)
查看>>
python中xrange和range的异同
查看>>
列表、元组、集合、字典
查看>>
【Python】easygui小甲鱼
查看>>
【Python】关于Python多线程的一篇文章转载
查看>>
【Pyton】【小甲鱼】文件
查看>>
【Pyton】【小甲鱼】永久存储:腌制一缸美味的泡菜
查看>>
【Pyton】【小甲鱼】异常处理:你不可能总是对的
查看>>
APP性能测试工具
查看>>
【Pyton】【小甲鱼】类和对象
查看>>
压力测试工具JMeter入门教程
查看>>
作为一名软件测试工程师,需要具备哪些能力
查看>>
【Pyton】【小甲鱼】类和对象:一些相关的BIF(内置函数)
查看>>
【Pyton】【小甲鱼】魔法方法
查看>>
单元测试需要具备的技能和4大阶段的学习
查看>>
【Loadrunner】【浙江移动项目手写代码】代码备份
查看>>